2014-09-25

Sale on Etsy!


Let's go to celebrate FALL! I'm offering 50% discount on everything you can find in my Etsy stores!
www.lagoadesigns.etsy.com and www.lagoaclaycreations.etsy.com
Just use the coupon code FALL14 at checkout (expires 30 Sep) and you will get your favorite piece for a half price 

2014-09-24

Making iPhone Case for a Shoe Lover


For this project you will need:

1. clear iPhone case (on eBay $0.99 + free shipping)
2. black polymer clay
3. acrylic paint (I used turquoise, gold and silver)
4. distress embossing powder (optional)
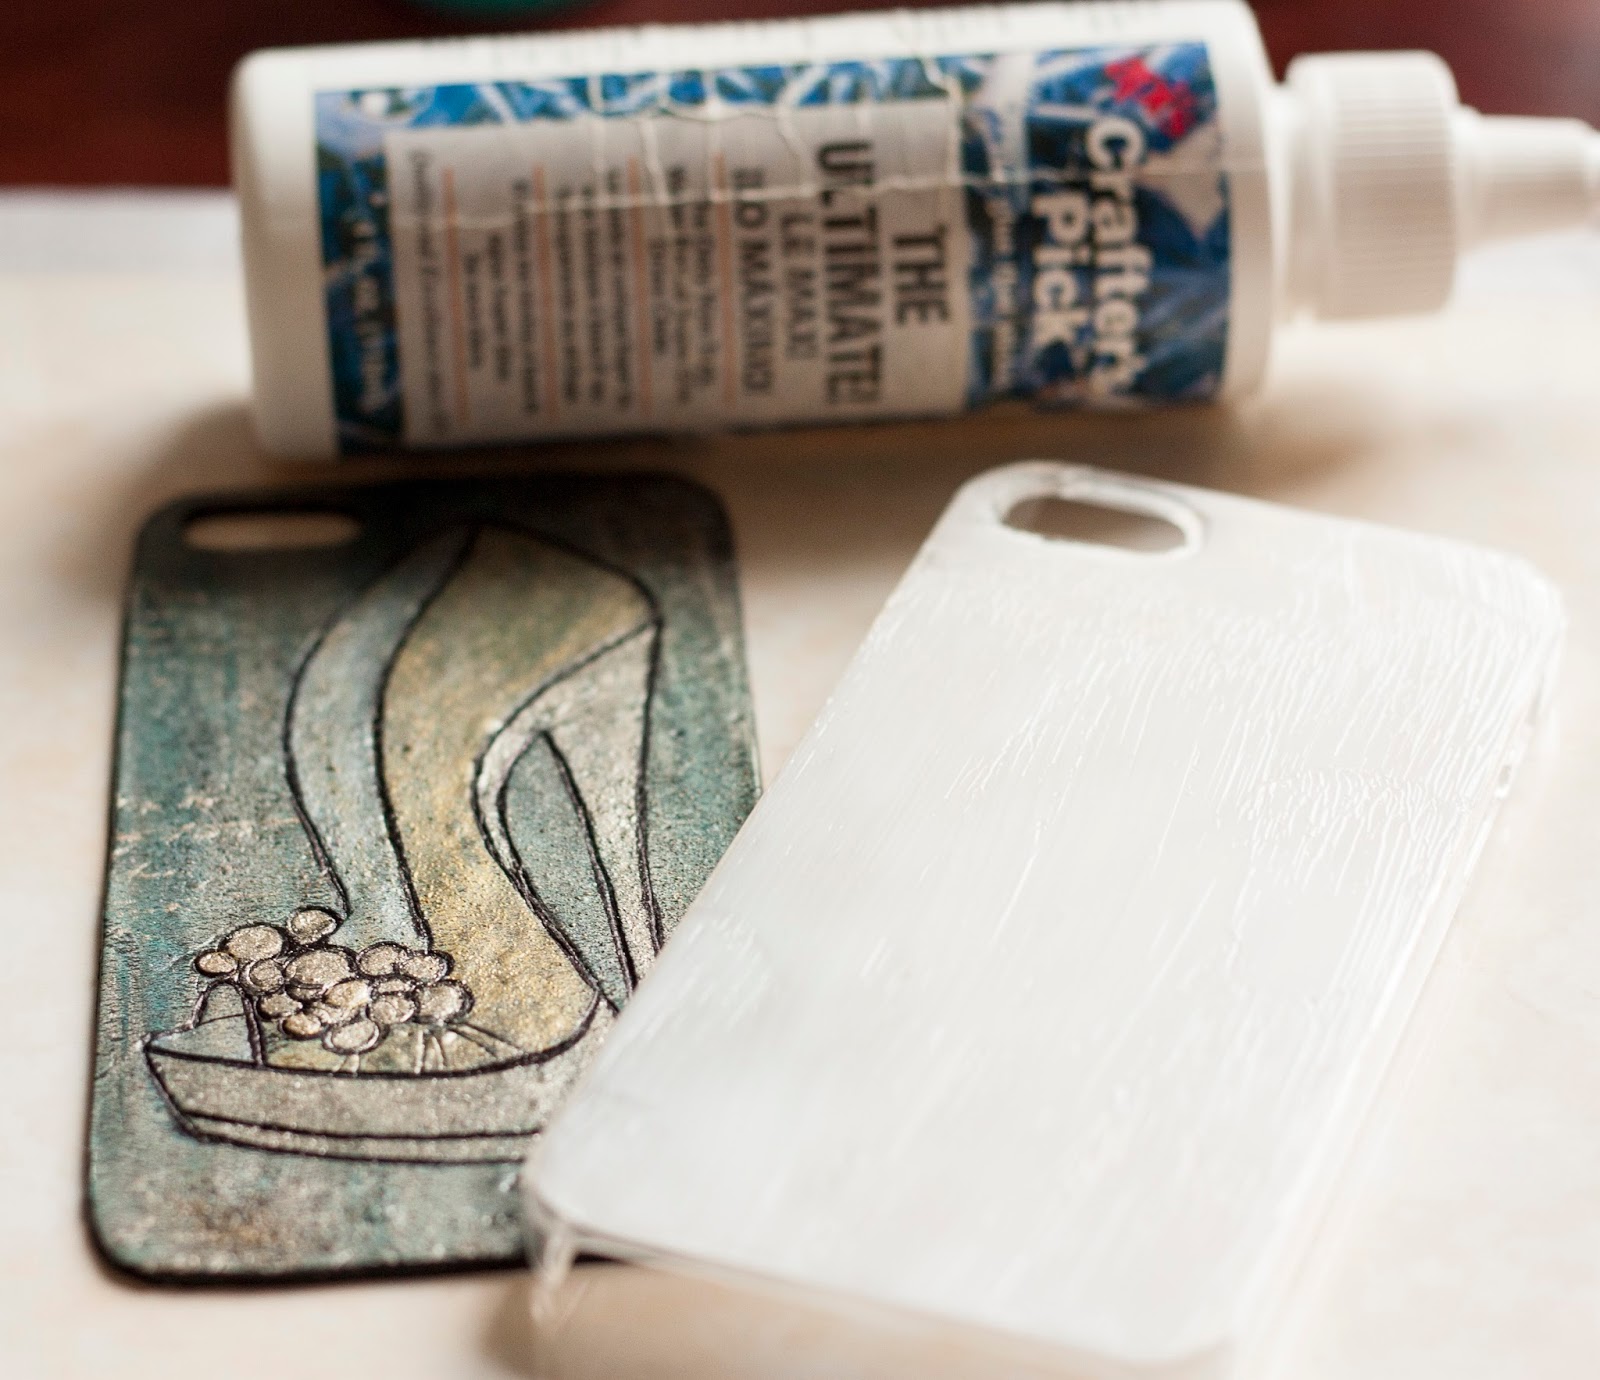
5. glue (super glue gel or Crafter's Pick The Ultimate!)
6. Faber Castell black permanent marker
7. pasta machine 
8. craft knife
9. small ball tool
10. cocktail straw
11. paint brush
12. hairdryer or heat gun


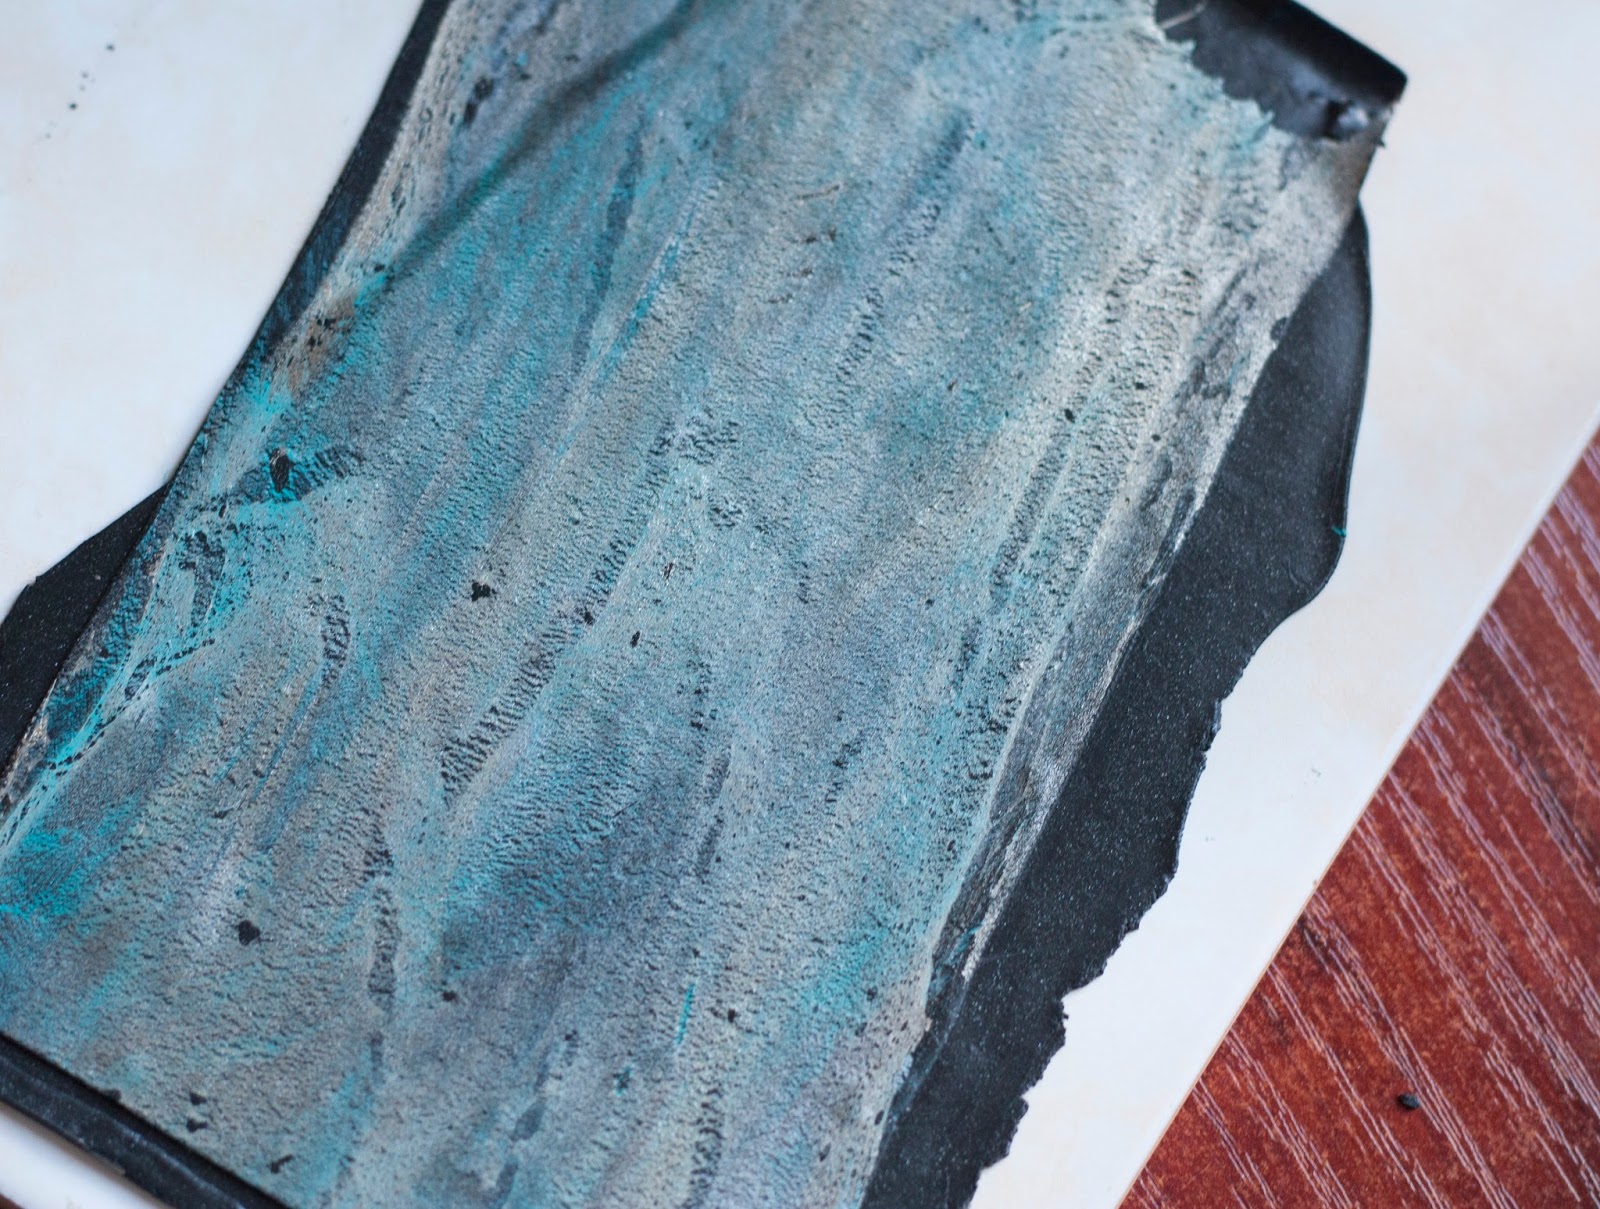
1. Roll out black clay on the thickest setting on your pasta machine
2. Apply a thin coat of the gold acrylic paint and dry with a hairdryer or a heat gun. Do not overheat!
3. Dab over the silver paint, dry, then turquoise paint and dry completely
4. Roll out on your pasta machine on settings 1-2-3-4-5 and 6 (thickest to thinner)


5. Roll out another sheet of black clay on a very thin setting (on the Atlas machine it's 7 or even 8)
6. Cover the black clay with a sheet of colored clay. Avoid air bubbles! 


7. Flip the clay sheet to the other side and put on the plastic iPhone case upside down


8. Cut out the shape


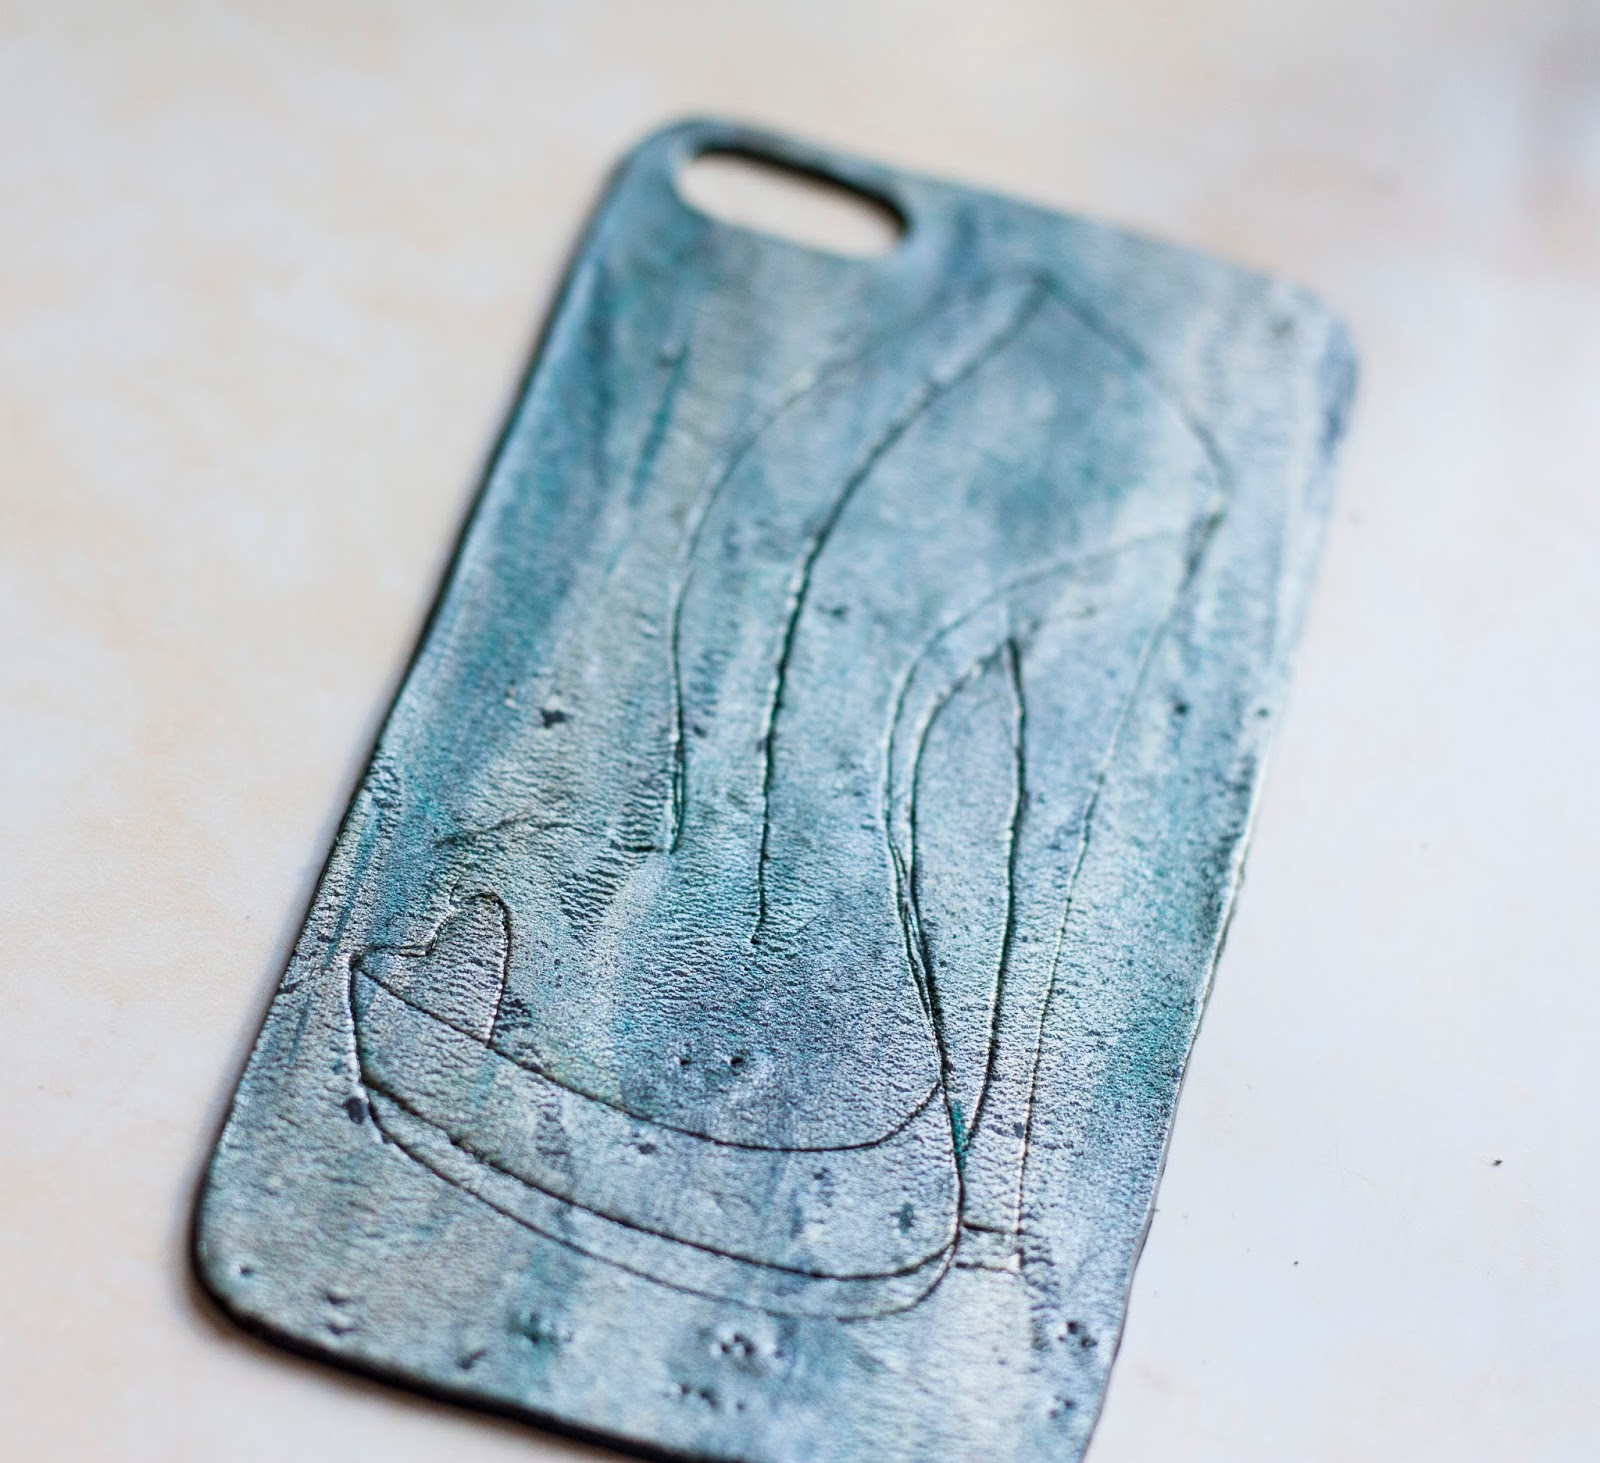
9. Turn it around and draw a silhouette of a shoe with a very small ball tool 


10. Take a cocktail straw and make some circles


11. Sprinkle a little of black and grey distress embossing powder over the clay. This step is optional
12. Put it into the oven and fire for 30 min


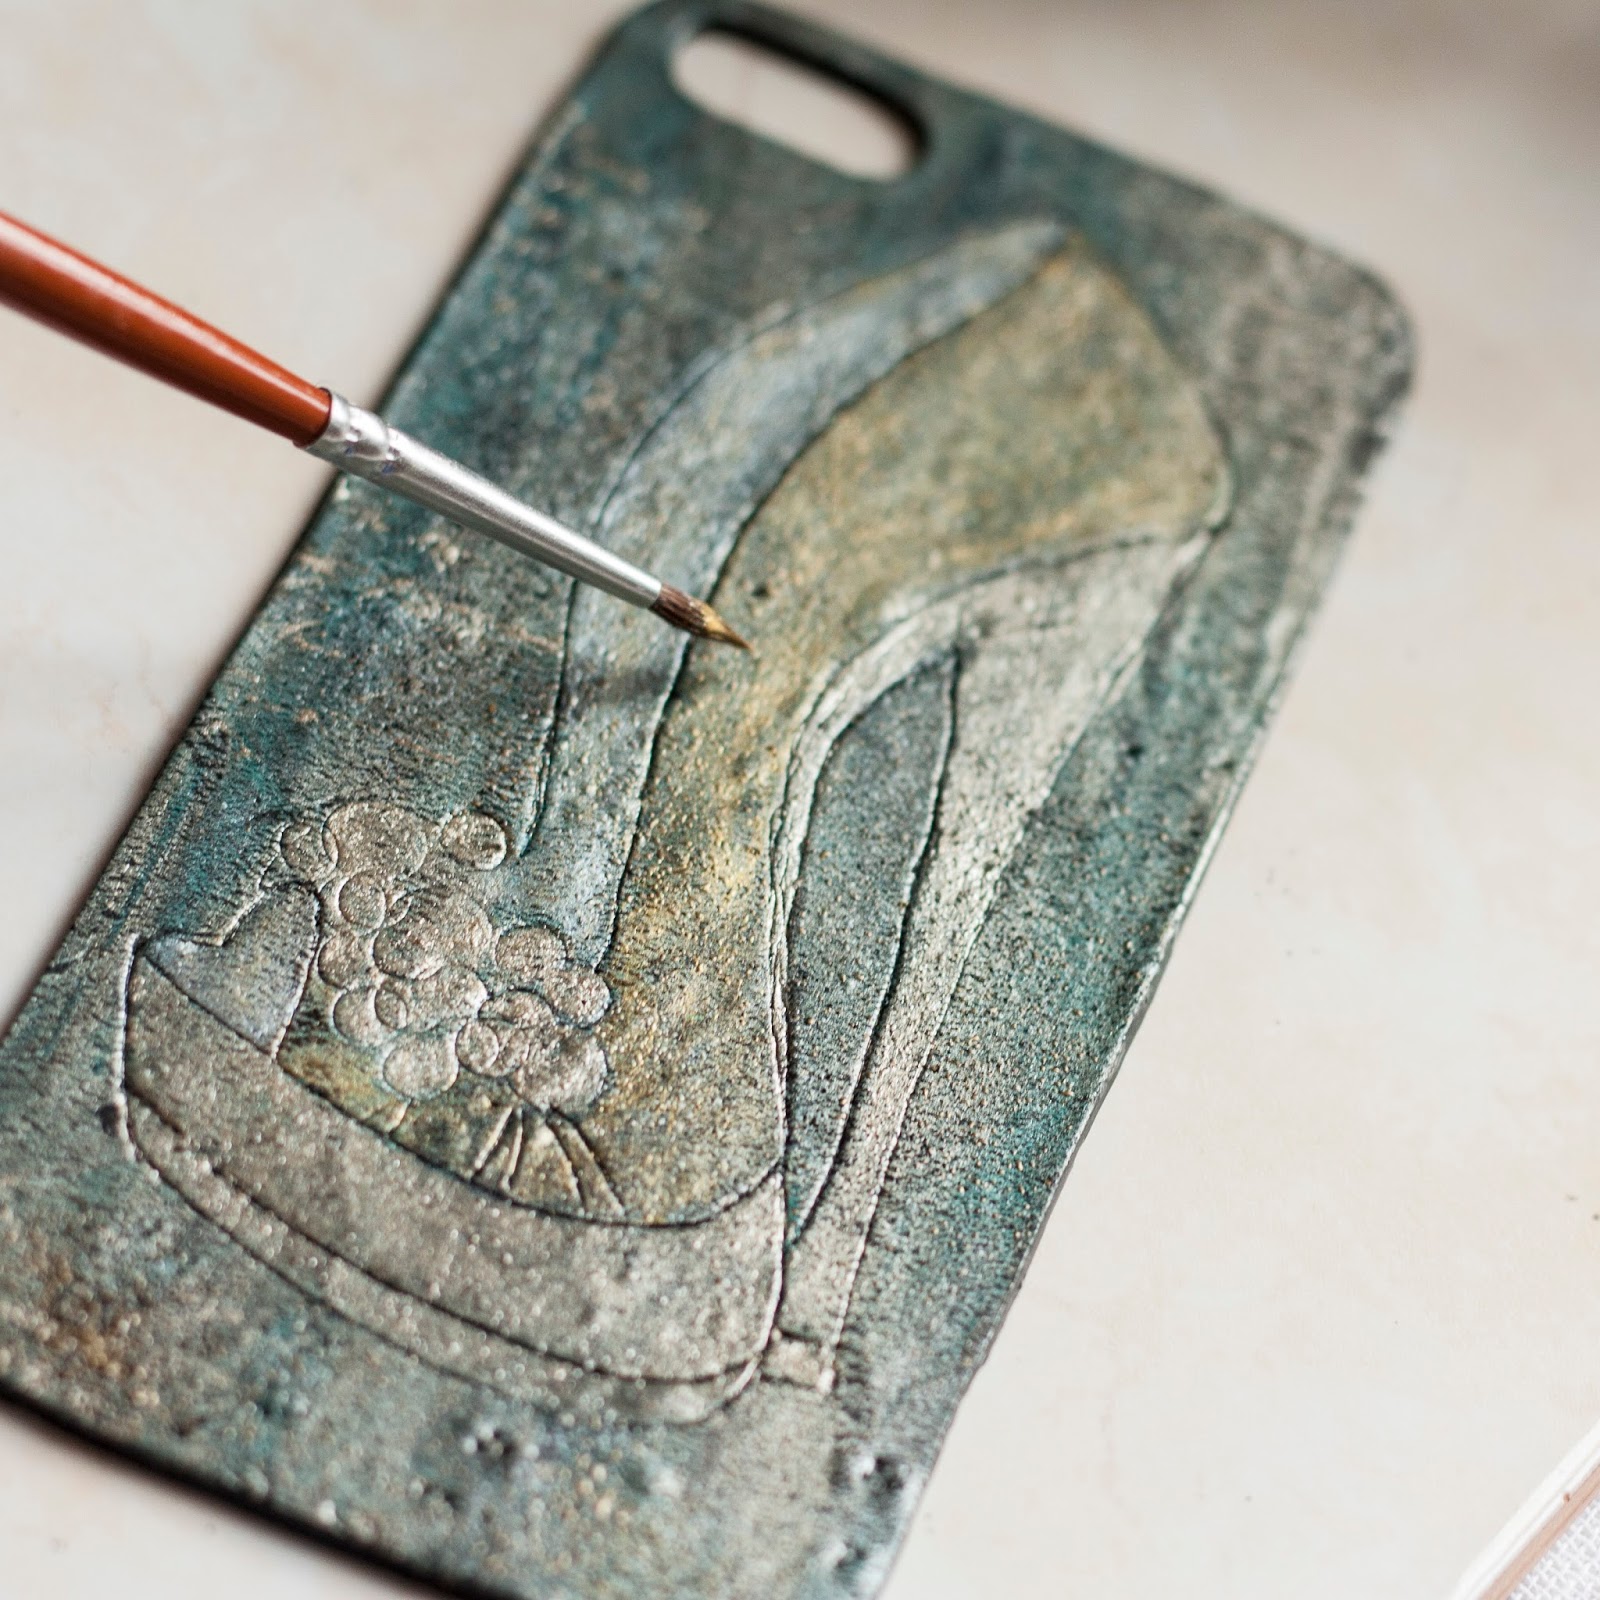
13. Attach some color on the shoe to pop up a little


14. When the color is dry, take a marker and draw around the lines
15. Glue your creation on the plastic iPhone case

ENJOY!

2014-09-19

Etsy Shop Update: Black'n'Pink Statement Earrings


Do you finish your projects one by one? I do not. I start, then something goes wrong or I have a commissioned work to create asap and I let it aside and start making another one. I have many different types of projects in the same time in various completion stages. For example, theses earrings I've almost finished, just I had to sew on fabric on the backs and... they stayed like that for 5 or 6 months :)  Finally I completed this long story and they are available at my Etsy Store :)


Hand embroidered one-of-a-kind earrings with large Swarovski fancy stones. Here I've used vintage metallic pink ribbon and the stones are hidden under black tulle. The back is covered with a cotton velvet fabric and the ear studs are handmade sterling silver. They are lightweight and comfy to wear!

2014-09-13

Featured!


I feel very proud to be featured on Polymer Clay Daily :)

2014-09-12

Barrette. Etsy shop update and TUTORIAL


This SET of 3 barrettes now is available in my Etsy Shop


ENJOY!

2014-09-10

Fall Leaves. Vase


I used black clay and acrylics, then rolled through the pasta machine to achieve some crackle effect.


Then I cut out leaves with a craft knife in different sizes and made some marks.


I covered the glass jar with a very thin layer of black clay and then placed the leaves on it in a random order.

Enjoy!


2014-09-08

My Experience Making A Polymer Clay Purse


My first attempt making a polymer clay purse failed! Unfortunately it turned out too heavy to wear...

Couple{sorry, not good quality} pics of the process:


First I made grey colored inside of the bag - bottom and lid at the same time, then cured. Second - attached blue colored clay and embellishments to the bottom part of the purse, then cured.


The next step was to create the top part of the future purse. I put the lid on, then applied Kato Repel Gel to the grey line of the purse's bottom with hope that medium will protect blue clay from sticking to it. Then I repeated to embellish the lid and put the finished piece into the oven.

Actually, when I worked on the bottom part of the purse I had an idea that the purse would be hardly wearable because of the weight, but still had a little hope. My tiny edge of hope disappeared when the whole piece was finished, but I was not too disappointed and decided to use it as a keepsake box. Ah... I forgot to tell that I signed inside of the supposed purse, too, and it looked so very nice :)

You can't imagine my wonderment when I took my piece out of the oven and couldn't open it! I've tried in many ways, but nothing! Kato Repel Gel disappointed me... It got stuck together completely!!!


Not being able to use it as a keepsake box, I will use it as a home design element :) I decided to whiten it a little bit, using white acrylic paint.


Conclusions:
1. If you want to make a wearable polymer clay purse, you should not use weight enhancing texture pieces. instead of this use a variety of colorful canes to obtain a textured look
2. I'm not entirely sure, but I believe that the Kato Repel Gel didn't work properly because I added embellishments pushing them down after attaching another layer of clay
3. Making a purse is an intriguing process when you know exactly what you are doing :)

It's my first, but not last attempt to make a PC purse, so stay tuned!